A Comprehensive Guide on How To Setup Dual 4K Display Monitors on MacBook
Reading time: 4 minutes
Jump to:
Connecting to an external display on your MacBook should be as easy as just plugging in a cable, right?
Theoretically, yes.
But there are different factors where you could go wrong.
Read the topics below to understand how to connect an external monitor for MacBook Pro.
An extended dual screen setup is when there are two or more monitors connected to one computer. This allows displaying different tabs or programs in each monitor instead of frequently switching between those when you only have one display. It is commonly used for multi-tasking or doing tasks which require multiple tabs or programs open simultaneously.
One common issue users get when setting up a dual screen setup is when the MacBook only mirrors the laptop's screen, which means all monitors are showing the same thing.
Here are easy steps to connect to external displays:
- Identify ports and specific cables you'll need
- Plugin your external monitor, and then connect it to your MacBook using the appropriate cable(s)
- Choose the desired display option
Identifying the Right Display Cord
MacBook Pro 2016 models and above all have Thunderbolt 3 ports.
While Thunderbolt 3 and USB-C look identical, these are not the same. Cables that support Thunderbolt 3 can transfer data up to 40Gbps, which means it's two to four times faster than a standard USB-C cable (or cables that don't support Thunderbolt C technology).
External monitors also have different types of ports. HDMI, DisplayPort, and USB-C are the most common types in recent models. However, older models usually use VGA and DVI. Refer to the table below to see what these ports look like.

Fig. 1. Different Types of Ports
Once you know what your input and output display should be, choose the proper cable. You might need an adapter, too. Keep in mind that your MacBook would be the input display, and the external monitor is the output display.
So, for example, if your external monitor has an HDMI port, you'll either need a USB-C to HDMI adapter (like this one), plus a male to male HDMI to HDMI cord (which usually comes with your external monitor). Another option is to get a USB-C to HDMI cable; but, keep in mind that the refresh rate would be affected.
HDMI Splitter for dual monitors on MacBook Pro is not recommended because it will only mirror your display, or duplicate the same window on all monitors.
To know how to setup dual monitor with MacBook pro, follow the steps above. On step two, just make sure to use two cables connecting to each display. And thanks to Thunderbolt 3 technology, dual 4k display for MacBook Pro is possible.
With most MacBooks having only two Thunderbolt 3 ports, a dual monitor set up limits might present some inconveniences like messy cables or limited ports available. These may be minor setbacks to achieve your best dual monitor setup for MacBook Pro, but there are fixes to these.
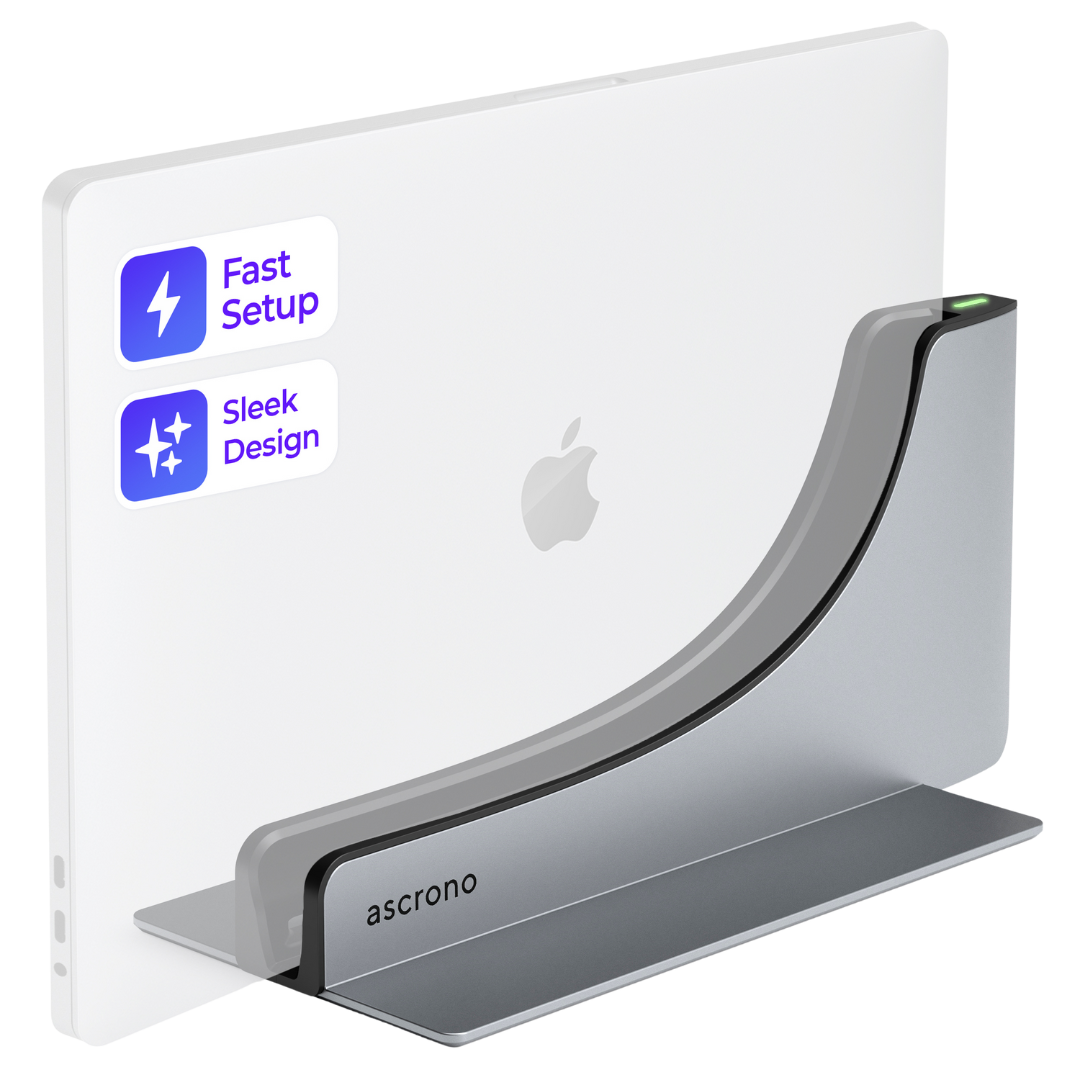
Docking stations help keep cables organized and stay that way no matter if you decide to work on your desk 24/7, or temporarily switch to a new environment. A set-up with dual monitors and docking station for MacBook Pro makes a cleaner desk. With the Ascrono Docking Station, you'll be able to manage your cables efficiently and mount it nicely. But most importantly, you can still keep two 4k displays on external monitors because it supports Thunderbolt 3.
Extended displays let you display two different windows at the same time. This is the most common option for dual external monitor on MacBook Pro.
To extend your monitor, go to System Preferences, then click Display. Arrange your monitors depending on your preference. Make sure not to tick the Mirror Displays checkbox.
A mirrored display shows the same display on all monitors. This only works when the main display (your MacBook) is turned on.
To mirror your display, go to System Preferences, then click Display, and make sure to tick the Mirror Displays checkbox.
Whatever your dream setup may be, it all boils down to choosing the right tech. In this case, pick monitors that meet your display needs, and choose Thunderbolt 3 supported cables, docking station, adapters, and/or hubs.

 Poland -
Shipping Options Available

